How to Clean a Computer Keyboard: Steps to Remove Dirt Without Damaging It
Do you notice that your computer keyboard looks dirty and needs a good cleaning? Or, you spilled something on it and need help to clean it properly without causing damage.
Keeping your keyboard clean not only improves its appearance but also helps to prolong its lifespan. In this article, we'll walk you through how to clean a computer keyboard effectively without causing any harm to the keys.
A dirty keyboard can be a breeding ground for germs and bacteria and make typing a less pleasant experience. But before you grab the cleaning solution and start scrubbing away with the best keyboard cleaners, it's essential to know how to clean your keyboard correctly to avoid damaging it.
In this guide, we'll go through the best methods for cleaning your keyboard, including what tools and cleaning products to use and how to disinfect it properly.
Whether you're dealing with a few crumbs or a significant spill, you'll be able to get your keyboard looking and feeling like new in no time.

What You'll Need
Instructions
1. Unplug and turn off your computer
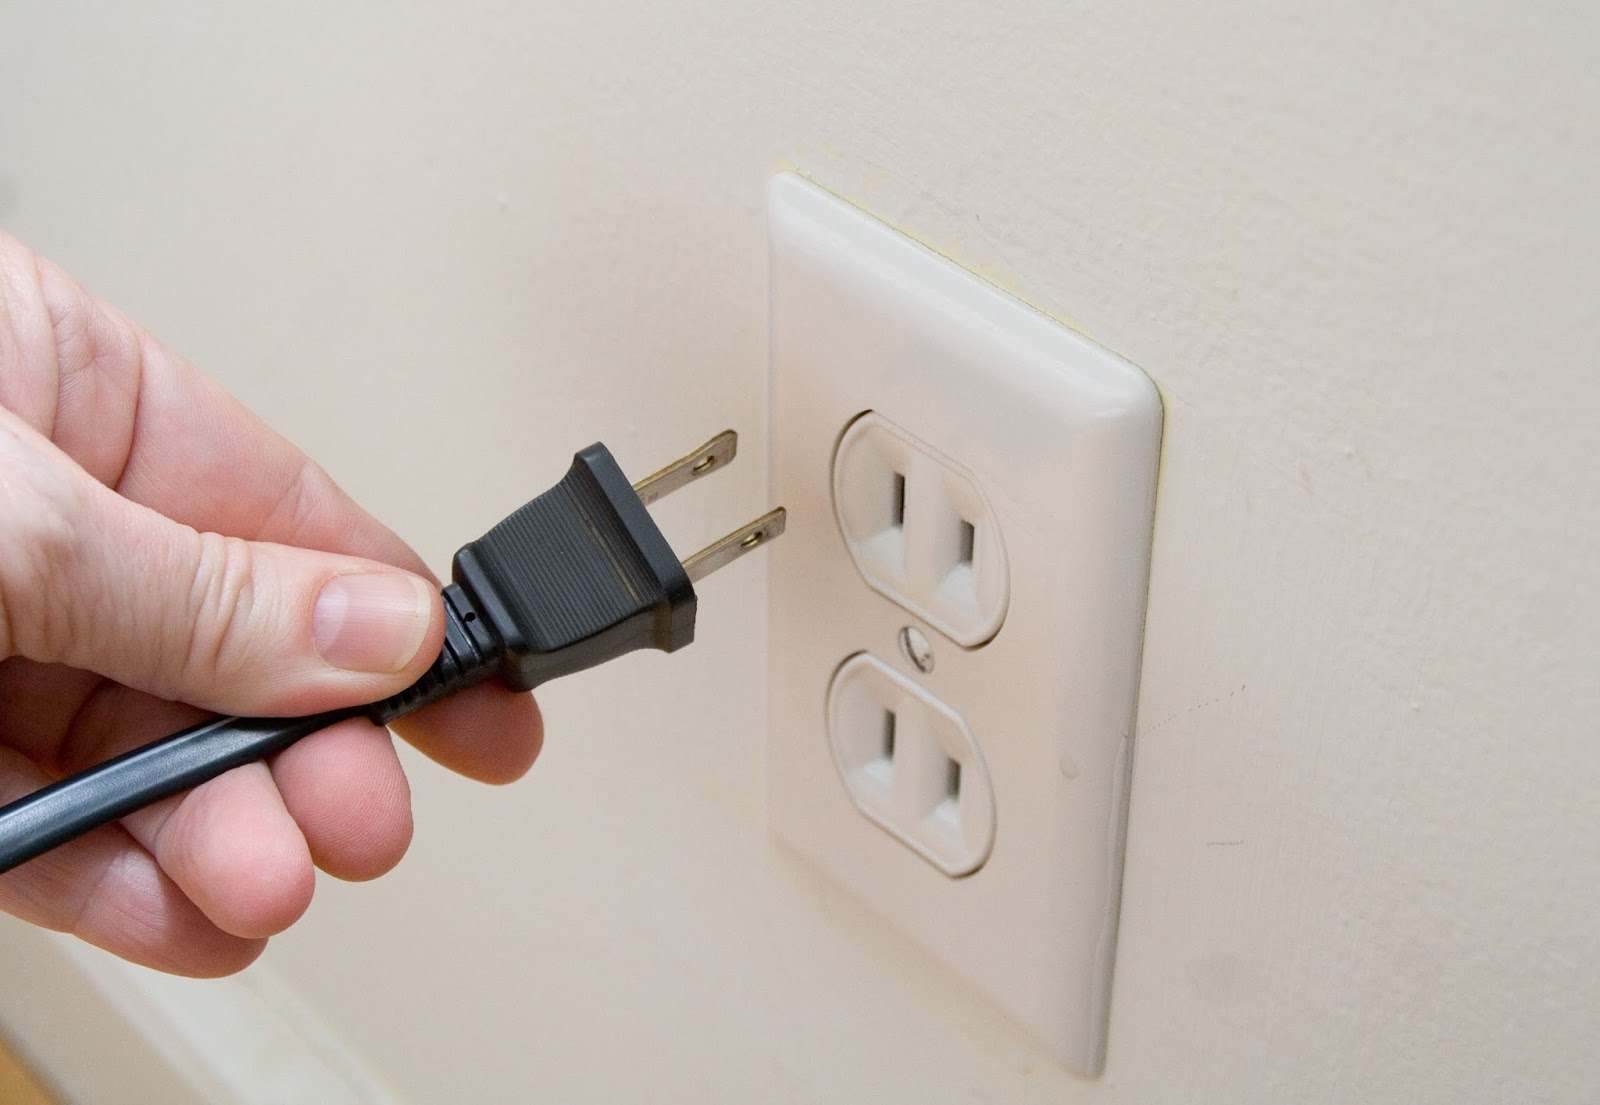
First and foremost, turn off the keyboard's power before trying to clean it. In case of an accident, you want to ensure nothing is harmed. Unplug the computer's power source and shut it down or turn it off.
You should disconnect your keyboard if a wired set is attached to the computer. Remove the batteries, if they are removable, from a wireless keyboard, and you should be set to go.
Last but not least, ensure your laptop is turned off, and the power line is unplugged if you're cleaning a laptop keyboard.
2. Turn the keyboard upside down and shake the dirt out
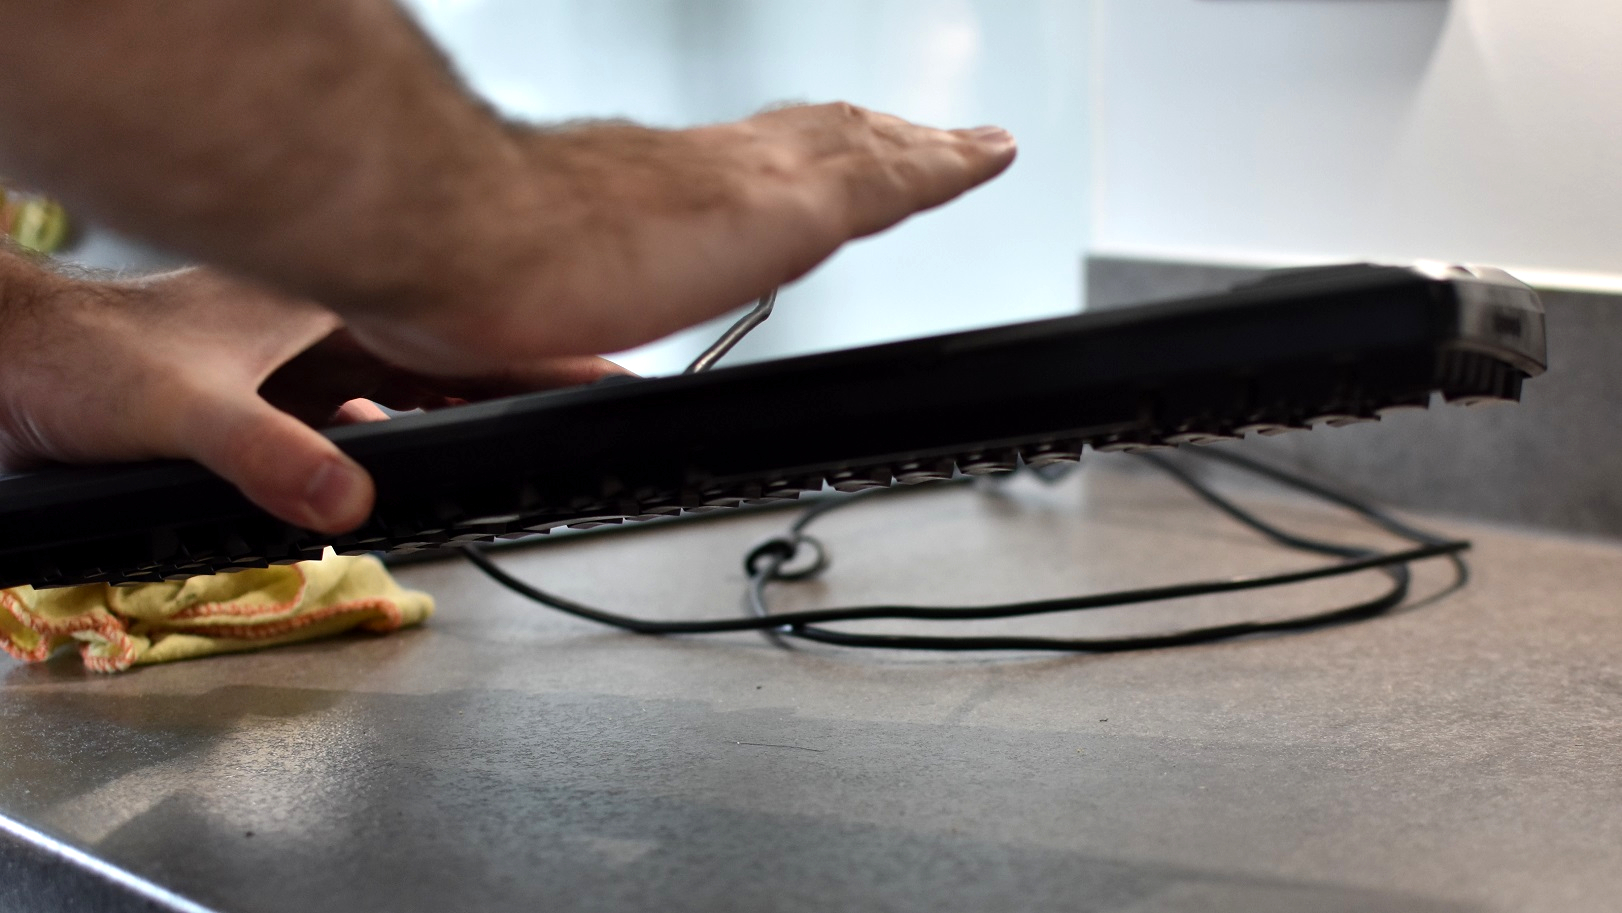
Getting rid of the loose dirt and debris must be your priority. You may get rid of anything from crumbs and dust to pet hair by giving the keyboard a thorough shake. Shake the keyboard vigorously yet gently while turning it upside down. You don't want to harm the keyboard accidentally.
If it's a laptop keyboard, support the laptop's body while keeping the screen open. One should use greater caution when working on a computer for this, mainly when dealing with heavier designs.
Consider purchasing an excellent computer cleaning slime to help clear debris from your keyboard. It's comparable to a slime toy but has a more pliable consistency that may pick up dust and other loose particles that have fallen between the keys. Most loose debris may be removed by laying it across a keyboard and peeling off.
3. Remove filth with a brush
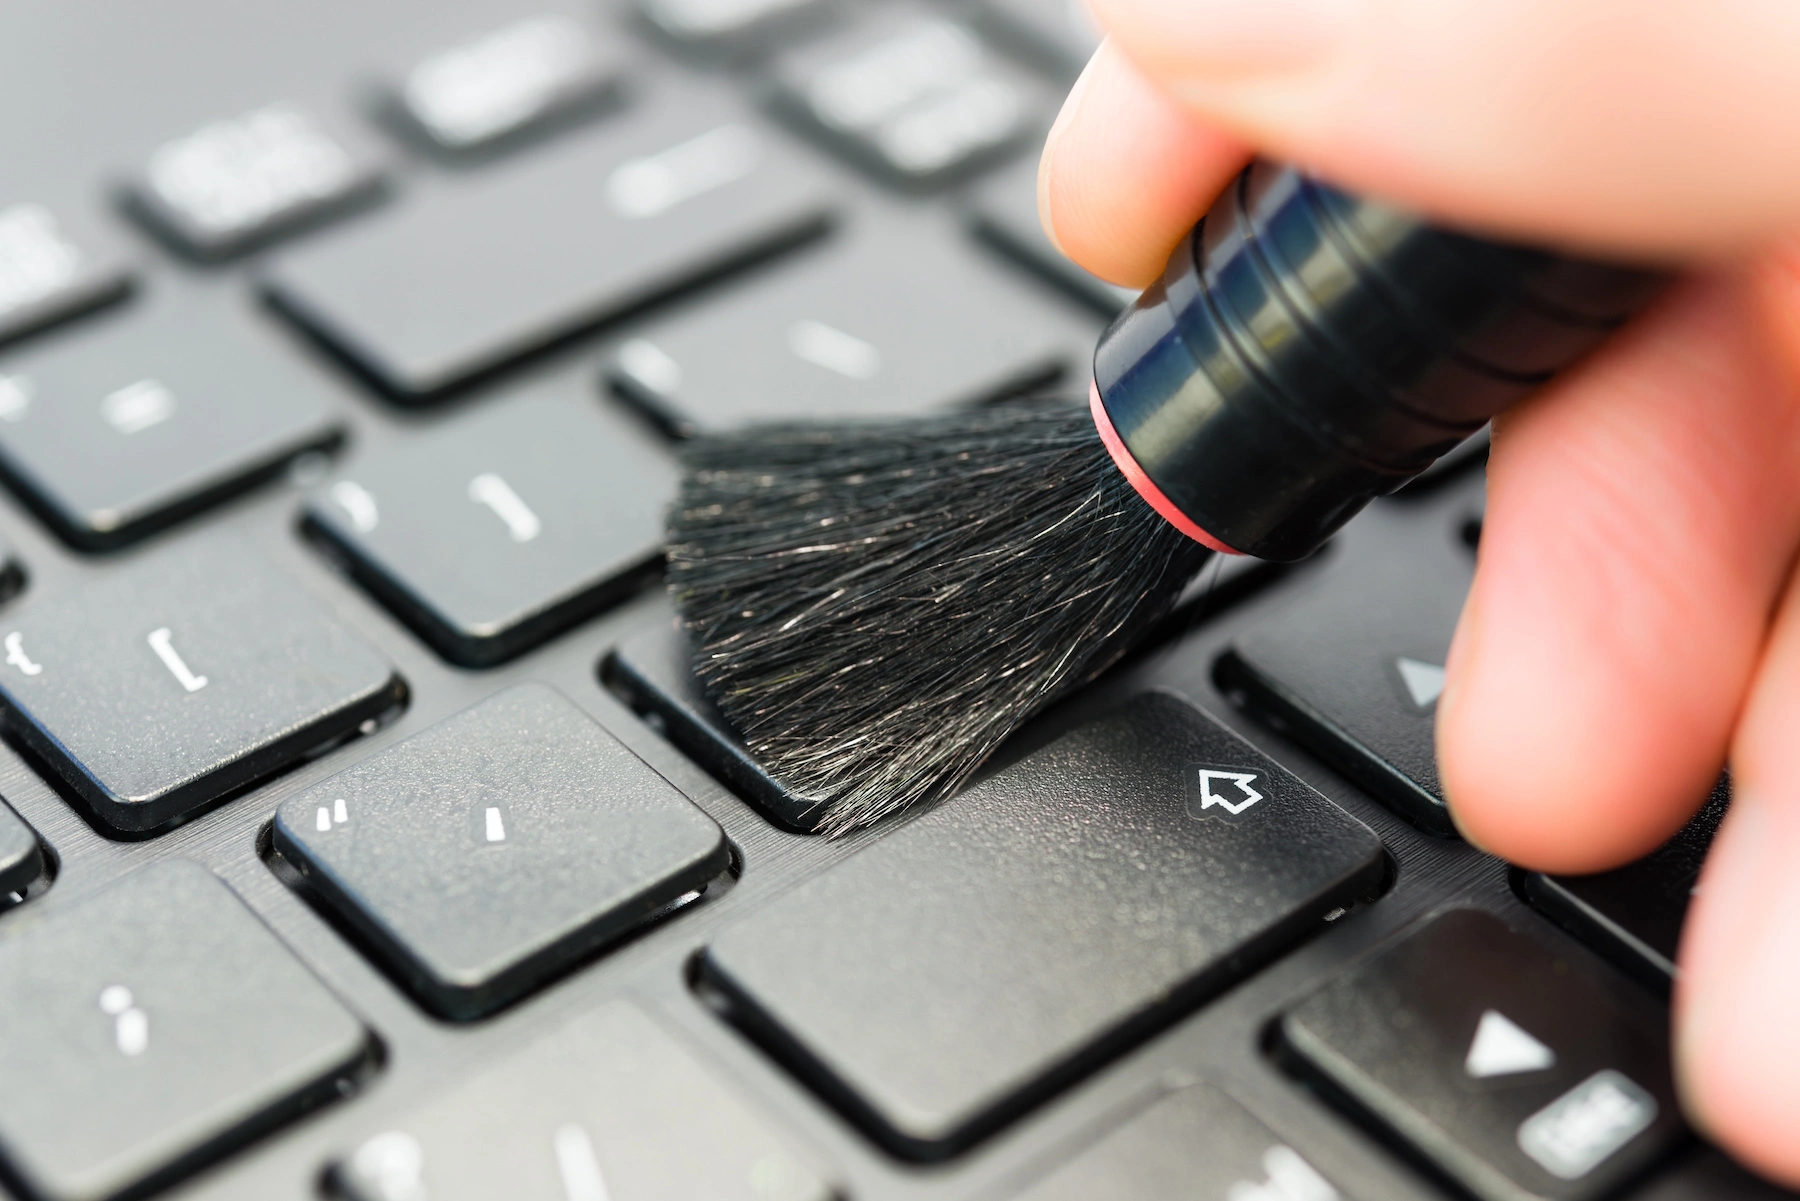
The abundance of dirty keyboards has led to the development of specialized computer keyboard brushes in various sizes and shapes that can remove the crumbs, hair, and other debris you'll discover inside your dirty keyboard.
Imagine you want to spend money on something other than a specialized brush. In that case, you can clean your keyboard with everyday objects like a regular toothbrush or a used baby bottle brush.
If you run the brush between the keys, your keyboard will be as spotless as the day you purchased it. That assumes the dirt isn't clung to the sides of the keys. If so, a stiffer brush could be required. Toothbrushes work well for removing that baked-on debris.
4. Use compressed air to remove the dust
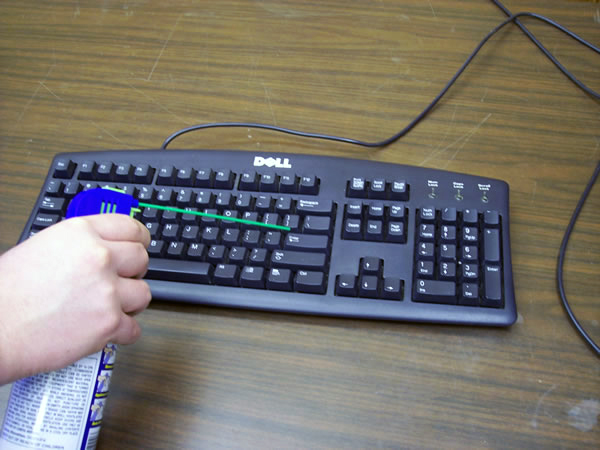
Compressed air is beneficial when cleaning a keyboard. It is widely accessible and readily available at most retail and electronics stores. To use it, fasten the straw nozzle to the can, lean it 45 degrees against the keyboard, and blow short bursts of air across it.
Always keep the nozzle about half an inch above the keyboard for maximum results. It will force any additional dust and dirt stuck in the keyboard to fall out. When finished, turn the keyboard and try it again from a couple of other positions.
5. Vacuum the keyboard
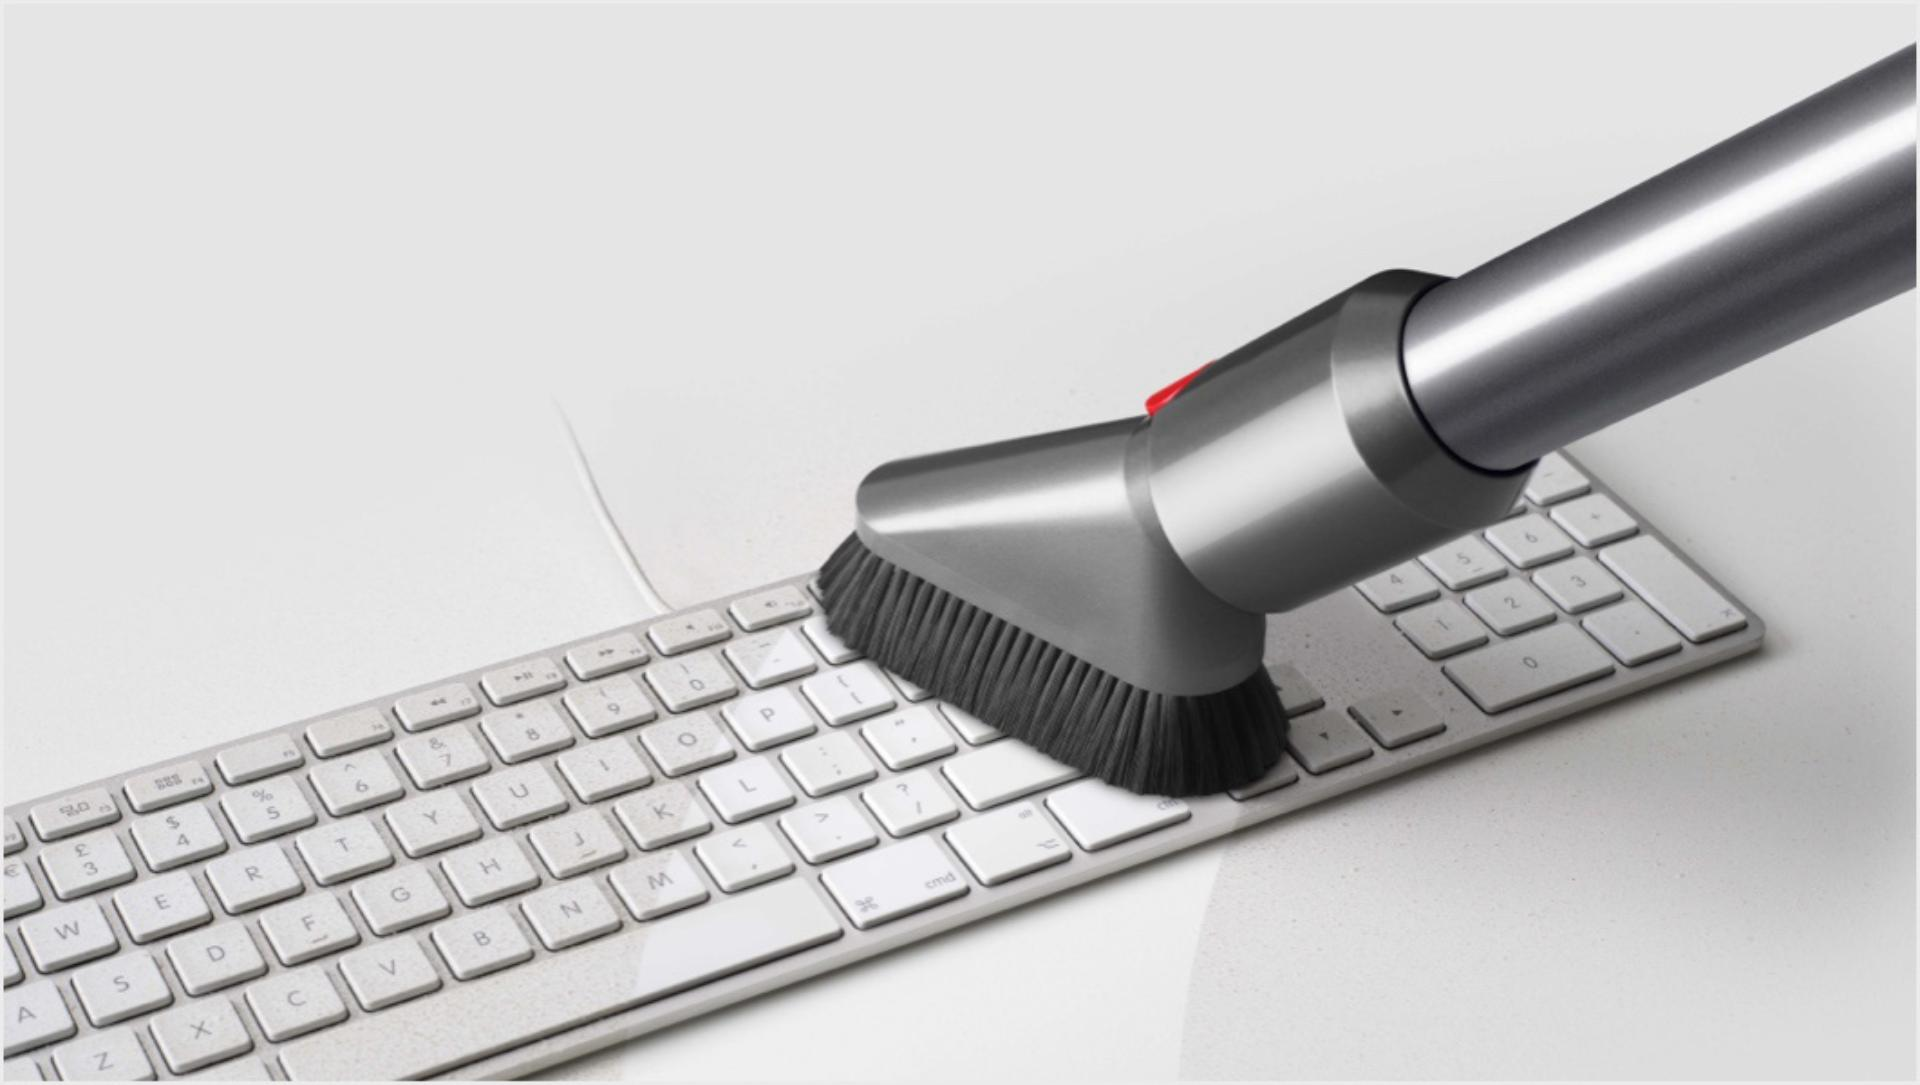
To remove any leftover debris from the keys, use a small nozzle dust vacuum or a vacuum with a brush extension if you have one. It's essential to do this thoroughly because the vacuum's strong suction power can pull even the most stubborn debris.
Reach between the keys, brush, or nozzle end over the sides. It should reach underneath the keys and dislodge any dirt lodged there. However, ensure none of the keys are jiggly or loose before doing this because they could get sucked into the vacuum cleaner with filth.
6. Use a cotton swab dipped in a rubbing alcohol
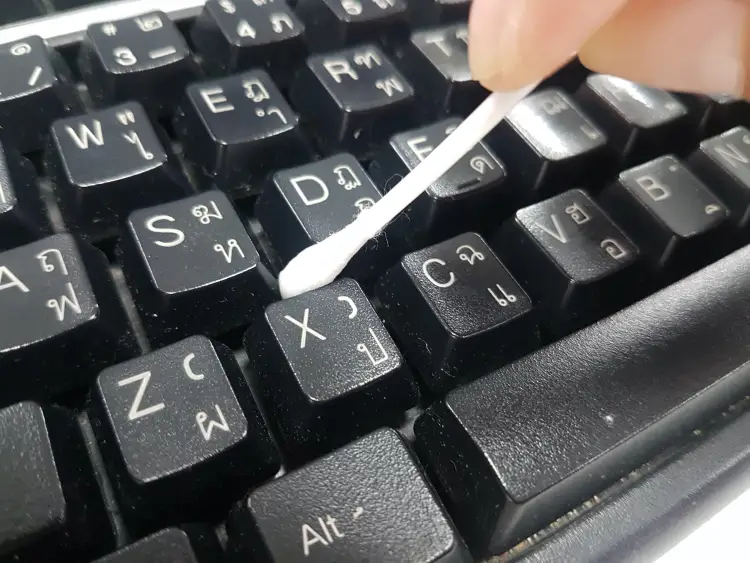
After vacuuming, take a cotton swab and soak it with rubbing alcohol. Pinch the cotton swab between your fingers to eliminate any extra liquid. Now, gently massage the cotton swab between the keyboard to remove any remaining dust or grime. Change the cotton swabs as you clean between each key and gather dirt.
Avoid touching the tops of the keys as much as you can to avoid accidentally wiping the paint off them. It is best to exercise greater caution with laptops because the keys are flat. As you tap the keys, avoid letting any alcohol go underneath them.
Try using a toothpick to carefully scrape off or loosen any tenacious filth from afflicted areas until you can remove it with the swab. You should disassemble it if it needs a thorough cleaning or is still unclean.
7. Polish with a lint-free cloth
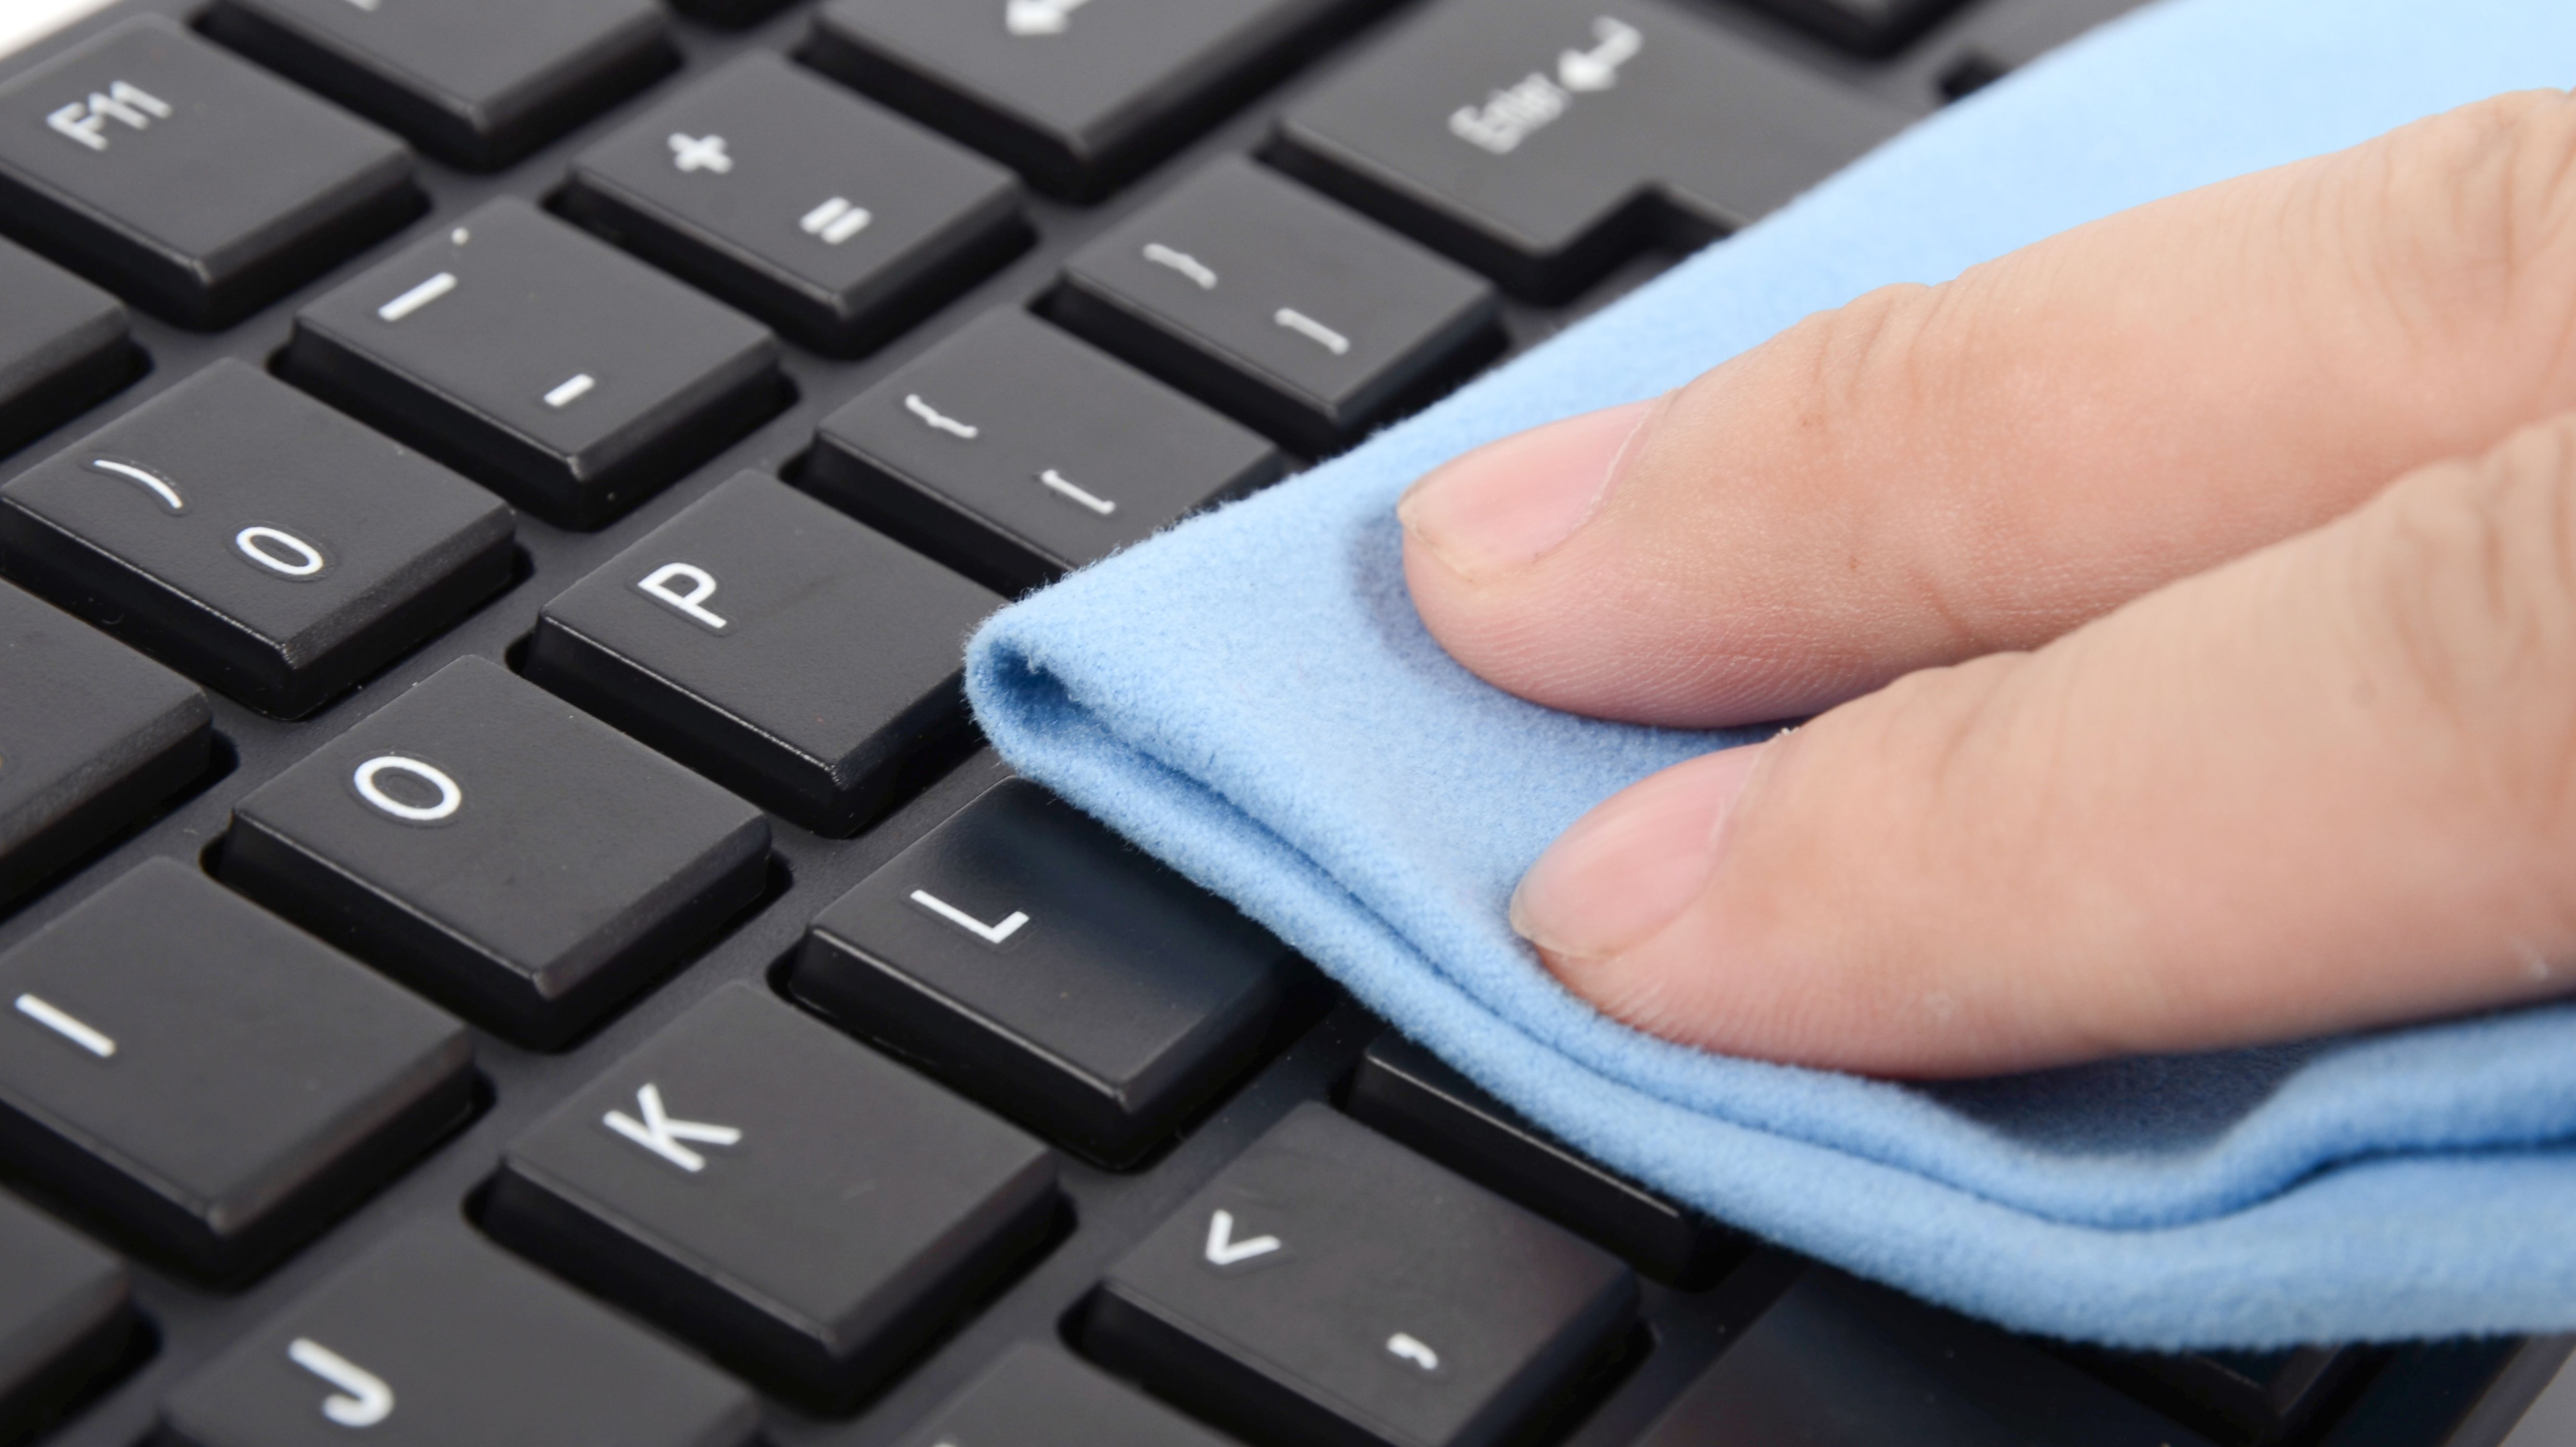
To get the dirt off the tops of the keys, you must give the keyboard one final wipe-down. A lint-free cloth is strongly advised because you don't want to risk clogging the mechanical keyboard with additional dirt as you attempt to disinfect it. A microfiber cloth is ideal for polishing the keyboard.
Lightly dampen the microfiber cloth with diluted isopropyl alcohol. Make sure the cloth is only lightly damp and that it's not entirely drenched. Start by carefully cleaning the tops of the keys. Remember that you don't want to use excessive pressure to remove the paint. Try wiping keys with more traffic several times to eliminate any remaining dirt.
Allow the keyboard to dry completely before using it again. Finally, plug the keyboard in after you're finished to test it.
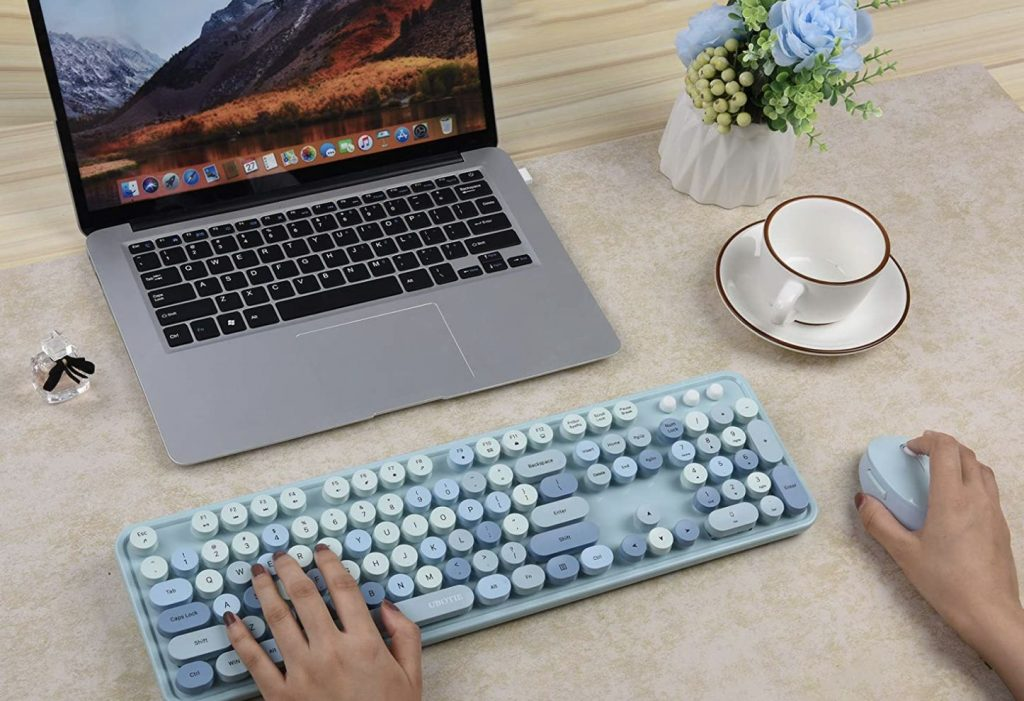
Type Away to a Spotless Keyboard With These Easy Tips!
Keeping your computer keyboard clean is essential to maintaining its functionality and longevity.
Following the steps outlined in this article, you can effectively remove dirt and debris without causing damage to your keyboard.
Regular cleaning ensures your keyboard will remain in top condition and provide a better typing experience.
Make your bedroom a sanctuary again with the help of a trusted professional house cleaning service.
Also, remember to check out our ultimate guide for keeping your bedroom sparkling clean.
FAQs
Does water ruin a keyboard?
A thin membrane layer shields most keyboards' Printed Circuit Board (PCB). Any water that gets through can result in long-term destruction if not adequately dried. Your keyboard may be unharmed if you can dry it off and eliminate the liquid without causing any more significant leakage.
How often should I clean my keyboard?
How often you should clean your keyboard depends on the amount of use it receives and the environment in which it is used. A keyboard frequently used in a dusty or dirty environment may need to be cleaned more often than one used infrequently in a clean environment.
In general, it's a good idea to clean your keyboard at least once a month if you use it frequently. Clean it more often if you eat or drink near your keyboard, as crumbs and spills can attract germs and bacteria.
It's also good practice to do regular visual inspections. If you notice any buildup of dirt or grime on the keys or in the crevices, it is best to clean it.
Why should I clean my computer keyboard?
Cleaning your computer keyboard is essential for a few different reasons. Regular cleaning helps to reduce the buildup of germs and bacteria, which can help to keep you and your work environment healthier.
Cleaning your keyboard can help to remove buildup and improve the keys' functionality. Dirt, dust, and grime can make the keyboard look unsightly, so regular cleaning can make it look new again.
Proper cleaning and maintenance can also help extend your keyboard's lifespan. Lastly, a clean and well-functioning keyboard can improve your typing speed, accuracy, and overall productivity, making you more efficient in your work.
