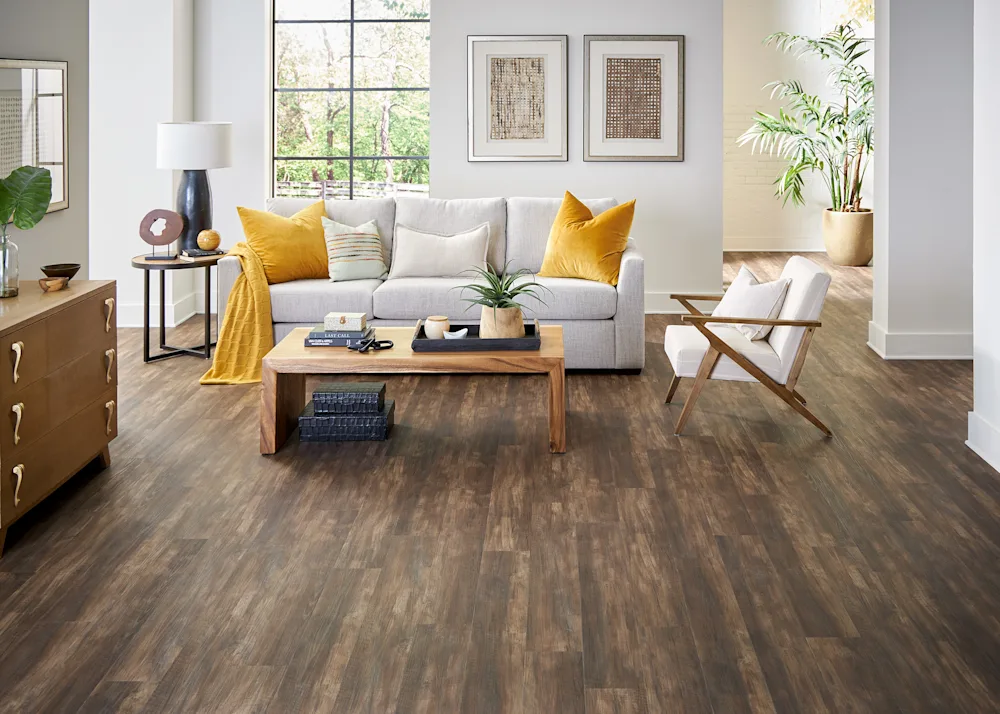
How to Clean Vinyl Floors: A Simple Guide to Keep It Sparkling Clean and Looking New
Vinyl flooring is a versatile and durable floor covering that can mimic the look of wood, stone, or ceramic tile and is no longer restricted to tacky patterns. It is inexpensive and waterproof, making it an excellent choice for basements, bathrooms, and kitchens. This article provides a guide on how to clean vinyl floors to keep them looking new and clean. If you're out of time to clean and vacuum your floors due to your busy schedule, consider hiring a professional cleaning service in your area.
Vinyl flooring has come a long way since its inception in the 1930s. Initially popular in kitchens in the 1960s and 1970s, vinyl flooring has become a durable and versatile option.
One of the benefits of vinyl flooring for many homeowners is its resilience, which makes it easy to clean and maintain. However, just like any other flooring type, it still requires some time and elbow grease to keep it looking new and clean. Please pay attention to the importance of keeping your vinyl floors clean, as a clean floor is a clean environment.
In this article, we'll unveil the secrets of how to clean vinyl floors to keep them in tip-top condition. From routine upkeep to deep cleaning, we've got you covered with simple and practical tips that will leave your vinyl floors sparkling clean and looking as good as the day you installed them.
What You'll Need
Instructions
1. Eliminate loose surface dirt using a vacuum
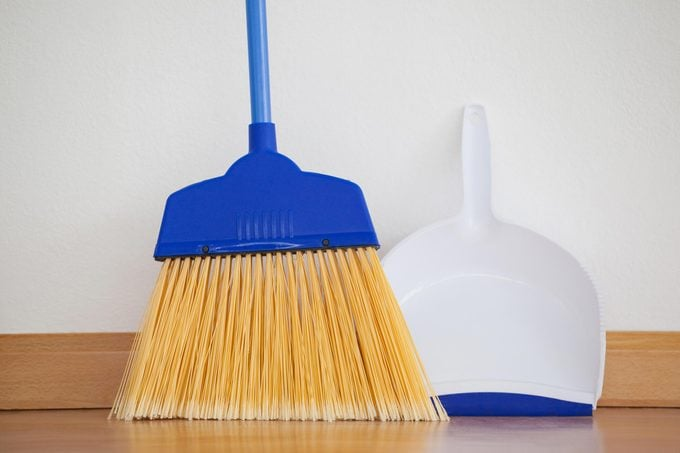
Before you start cleaning your vinyl floor, removing any loose dirt or grit on the surface is essential. This will prevent scratching and lasting damage to your floor.
You can use a soft broom, dustpan, or vacuum to remove loose soil. If you're using a vacuum, select a setting that doesn't engage the beater bar to avoid denting some vinyl floors.
2. Mix warm water and dish soap cleaning solution
Next, you must mix a cleaning solution on your vinyl floor.
Fill a deep utility sink or bucket with warm water, and add a few drops of liquid dish soap. If you're cleaning your kitchen, choose a detergent with a degreaser to eliminate cooking messes.
Avoid adding too much gentle detergent as it can create excess suds, which will only add to your workload.
3. Mop away the dirt with a damp mop
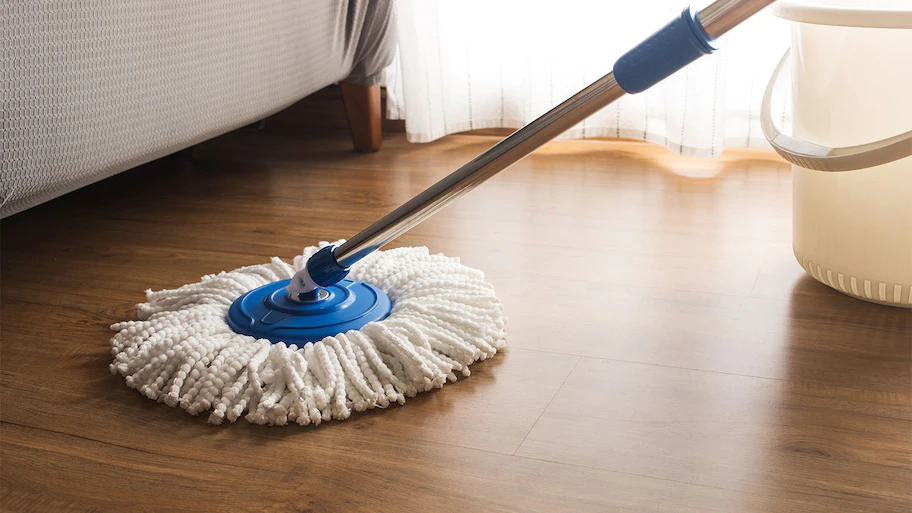
Once you have your cleaning solution, it's time to mop away the dirt. Dip your damp mop into the cleaning solution and squeeze out most excess moisture.
Be careful not to soak the microfiber mop too much, especially if you have older vinyl flooring with a fabric backing, as too much water can cause curling and seam separation. Although more recent vinyl floors can withstand copious amounts of water, it is more difficult to remove once installed.
Start at the corner of the room, leaving yourself a way out, and work across the floor. Rinse and wring out your mop frequently as you go.
Pro tip: For even easier cleaning, consider using a robotic mop that removes all the effort but leaves vinyl clean and damage-free.
4. Remove tough stains with different cleaning agents
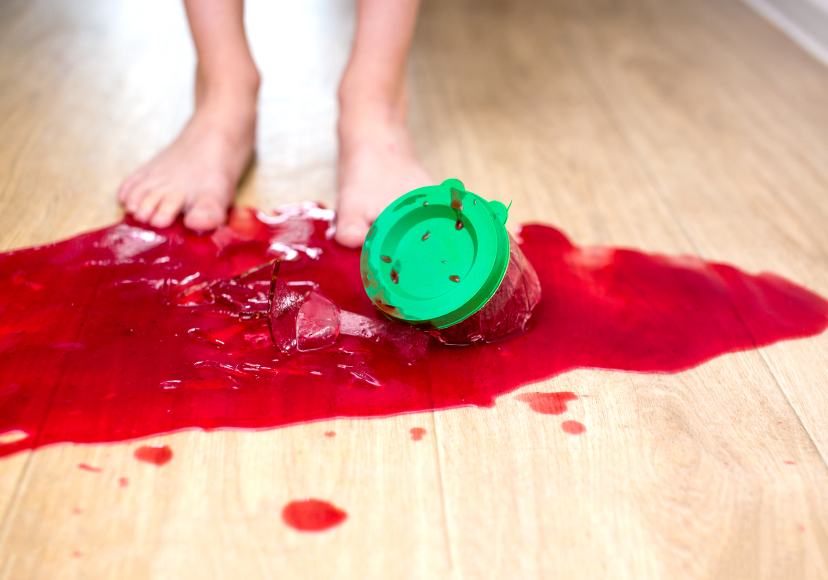
Stains are bound to happen, especially in high-traffic areas, or if spills need to be cleaned immediately. But with the right approach, most stains can be removed easily.
Here are some tips on removing stains from your vinyl floors.
A. Food Stains
To remove dried-on food or stains caused by tomato sauce or red wine, make a paste of two tablespoons of baking soda and one teaspoon of water. Apply the paste to the spots and let it sit for a few minutes. Then, gently scrub the food off with a microfiber cloth. Baking soda's mild abrasive properties help to remove stubborn food stains without scratching the vinyl.
b. Lipstick, Grease, or Ink Stains
To remove these stains, dampen a microfiber cloth with rubbing alcohol. You can start at the edge of the stain and work your way inward to prevent the stain from spreading. Move to a clean area to avoid smearing as the stain transfers to the damp cloth. Keep blotting until the stain disappears completely.
c. Scuffs
Shoes, furniture, and heavy items can easily get scratched by vinyl floors, leaving unsightly scuff marks. To remove scuffs, apply a small amount of WD-40 to the affected area and buff it using a dry microfiber cloth. The WD-40 helps to lift the scuff marks without damaging the vinyl's surface.
5. Choose whether or not to rinse the floor with white vinegar
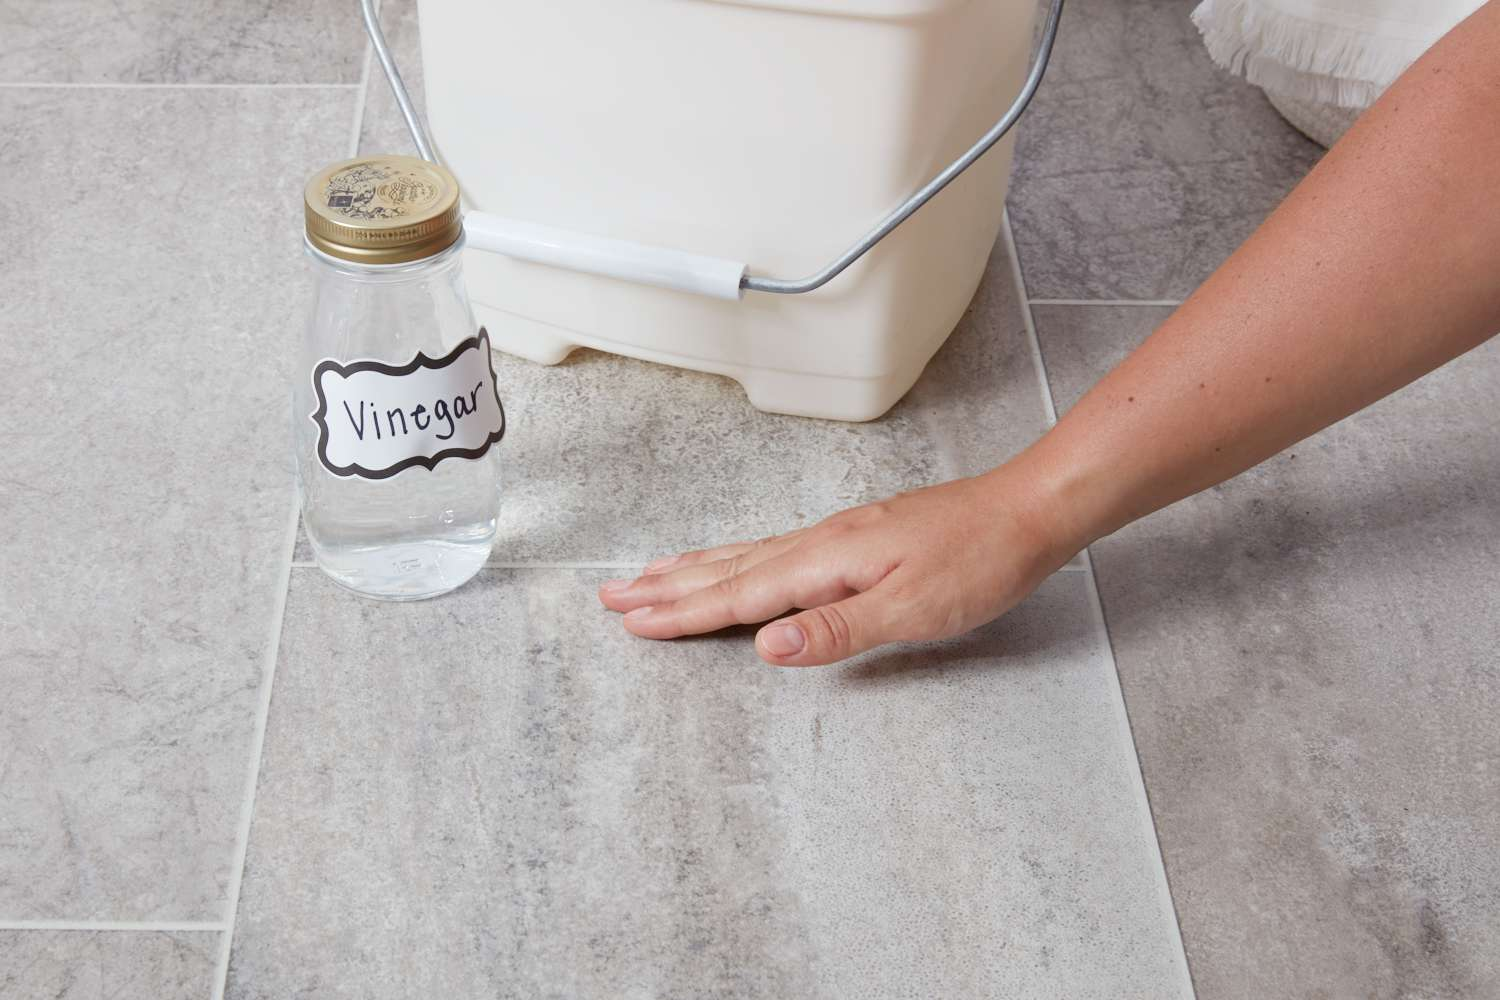
If you didn't use too much dish soap and the vinyl floor is clean, you may not need to rinse the floor after mopping.
However, if the floor feels slick, it's a good idea to rinse it with a solution of one cup of distilled white vinegar mixed with plain water. This will remove any excess soap scum and leave your floor spotless.
6. Let the vinyl floor air-dry
Finally, please allow your vinyl floor to air-dry completely before you walk on it. If you're short on time, you can use a fan to circulate air and speed up the drying process. Avoid walking on the floor until it's scorched to prevent damage or footprints.
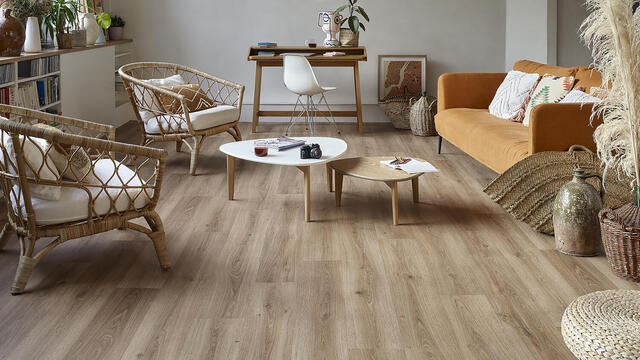
Follow The Cleaning Process for a Glossy Finish
Vinyl floors are an excellent option for homeowners because they are budget-friendly, easy to install, and require minimal maintenance.
However, to keep them looking like new, regular cleaning is essential. You can easily clean your vinyl floors by following the simple guide and a few tips we have provided.
Doing so allows you to maintain the quality and beauty of your vinyl floors for years. So, get started. Grab your cleaning supplies, and start cleaning your vinyl floors today!
You can also take your living room from messy to marvelous with our ultimate cleaning guide, providing expert advice and step-by-step instructions.
FAQs
How often should you clean your vinyl floors?
Vinyl floors in high-traffic areas should be cleaned or vacuumed daily to prevent scratches. Spills should be cleaned immediately, and floors should be swept weekly to avoid stains. Deep cleaning should be done every six months to a year.
Can you use steel wool when cleaning vinyl floors?
You should never use steel wool or a stiff-bristled brush to clean vinyl plank flooring, as they can scratch and damage the finish. Instead, you can use a soft nylon brush to remove spots or stains.
What should you not use to clean vinyl flooring?
You should avoid using abrasive cleaners on vinyl flooring as they can scratch the surface. However, baking soda paste is a minimally abrasive exception that won't leave scuff marks.
Harsh cleaners should also be avoided. Rubbing alcohol is the best cleaning agent for removing grease or makeup stains. For general cleaning, plain water and a mild detergent are sufficient.
